If you are into hiking and outdoor activities, Quito really is a great place to be. Not only due to its high elevation of 2,850 meters (9,350ft), but especially because of its impressive location in the Guayllabamba river basin in the Andes. Surrounded by powerful volcanos and stunning landscapes, the city really features everything that stirs hikers’ blood. However, hiking in Quito is not as common as one would may expect. Since ecotourism, so far, doesn’t make up a great part of Ecuador’s tourism, the labeling as well as the general condition of the treks leaves a lot to be desired. Nevertheless, you do not necessarily have to book a pre-organized hiking tour in order to enjoy Quito’s pristine nature. In this blog entry, I will present you two amazing, self-guided hiking tours, which will give you a wonderful impression of Quito’s stunning environment.
1. Climb Pasochoa volcano!

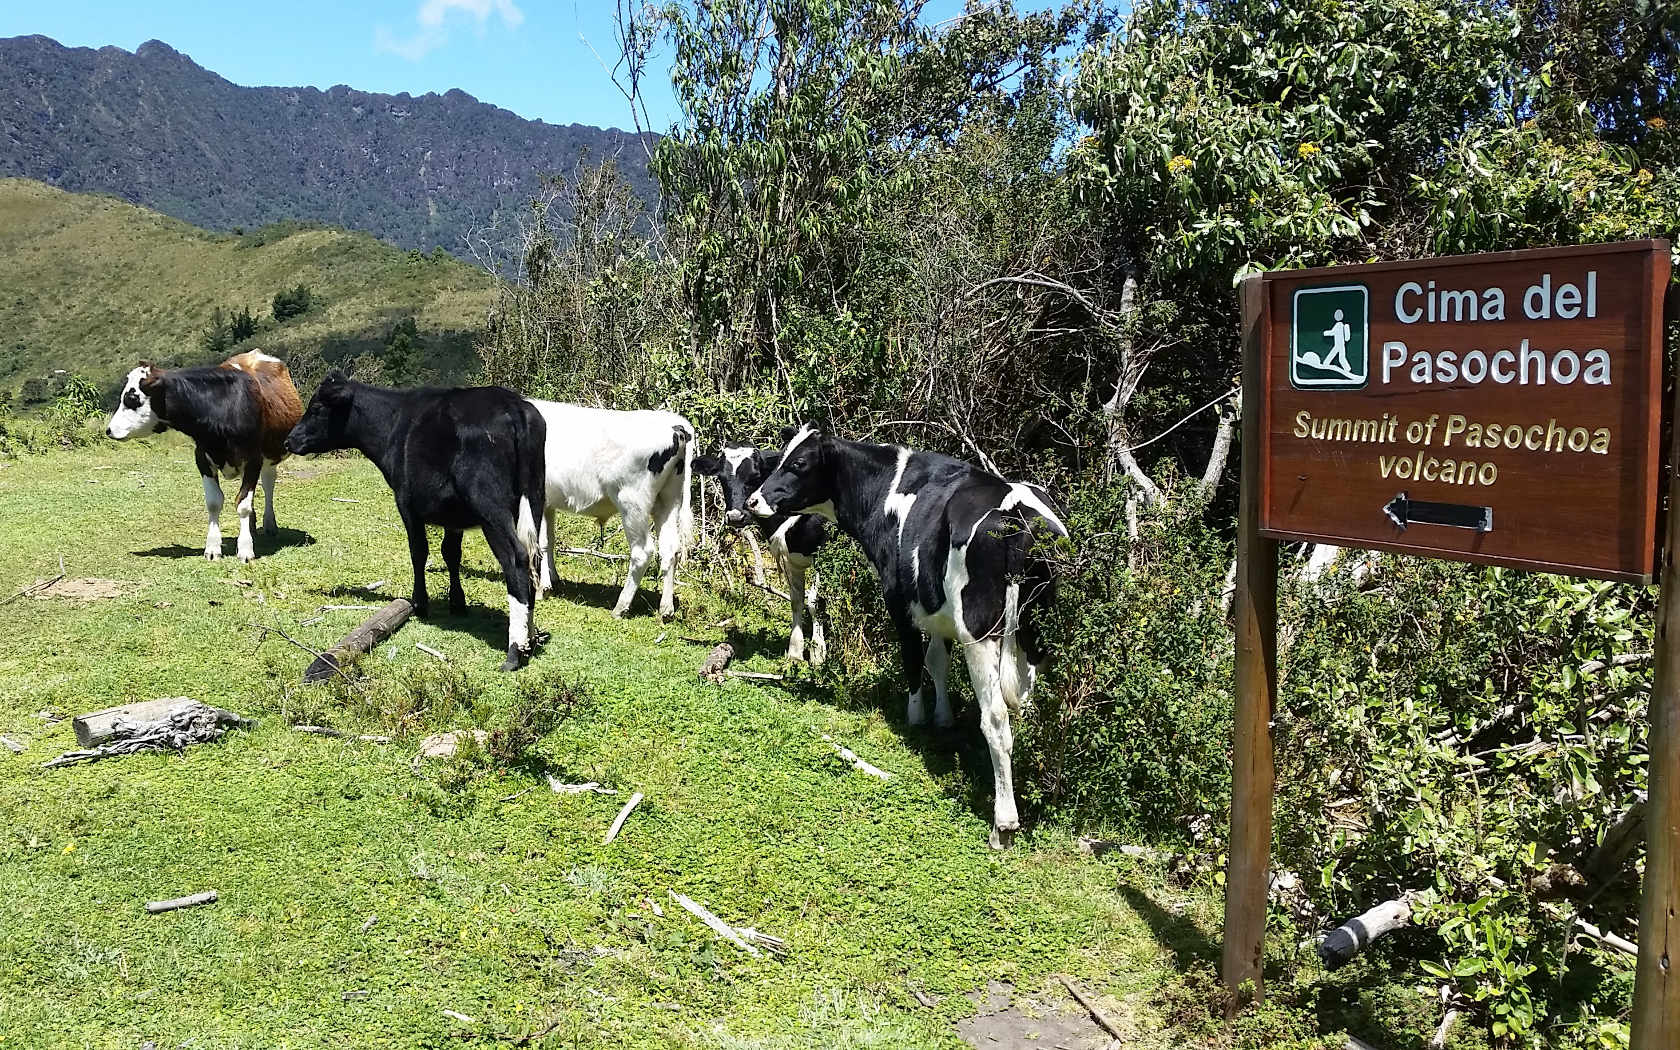
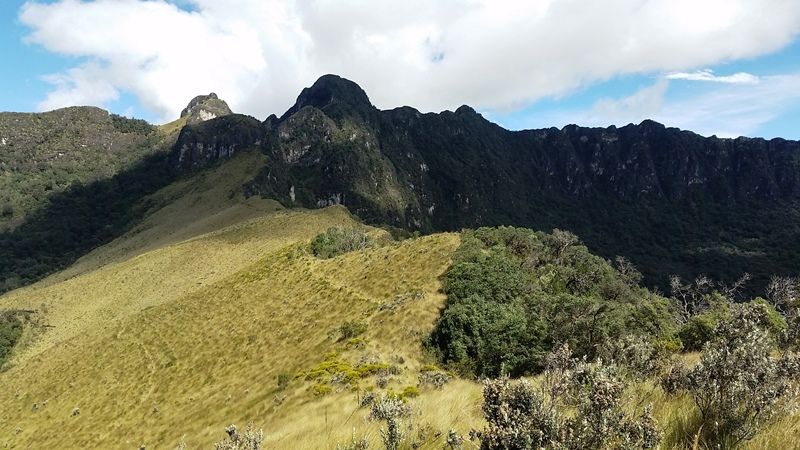
In 1986, the Ecuadorian government founded a natural preserve that encompasses the Pasochoa volcano and now comprises around 500 hectares of protected nature. There, you can hike from the entrance of the reservoir (located at 2,800m) right to the summit of the Pasochoa volcano at 4,210m, which would probably take you about 8 hours (roundtrip). However, since there are various trails in the preserve, you can also opt for easier and shorter treks.
How to get there
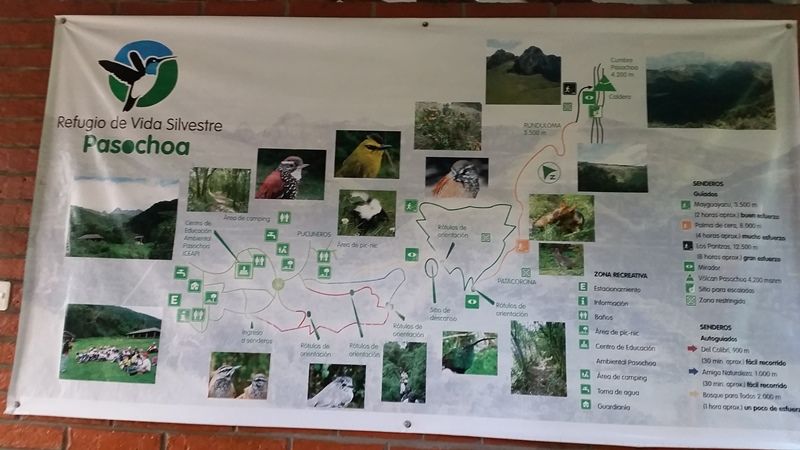
If you are starting your hike in Quito, it is recommendable to start the tour from the terminal “Marín”, which is only a couple of blocks away from the historic center. There, you can easily catch a bus that goes to “Amaguaña”. Normally, the busses run every 15 minutes, so it is actually not necessary to check the schedule before you get to the station. However, you should ask at the terminal at what time the last bus from Amaguaña runs back to Quito, just to guarantee your return transportation. Amaguaña is only 45km away from Quito, which means that the bus ride won’t take you longer than 1 hour, and with 45 cents / one-way it is more than affordable. The bus route usually runs along the entrance of the natural reservoir, so if you do speak some Spanish you can ask the driver to let you know which stop that exactly is. By the way, the locals know the reservoir mostly under the name “Fundación Natura” or just as “Pasochoa”, while its official name is “Refugio de Vida Silvestre Pasochoa”.
From the bus station, you can simply follow the brand-new signing which will lead you all the way up to the official entrance of the reservoir. No worries, it’s a 5km walk, but it really is worth walking since you will be compensated by beautiful views. The other option is — especially for non-Spanish speakers and those of you who want to save another hour of walking — to get out of the bus in the village Amaguaña and take a taxi from there, which will bring you right to the entrance of the reservoir and shouldn’t cost you more than 3 Dollars.
Getting started
Even though some websites claim that there is an entrance fee, the admission to the preserve is actually free. All that you have to do, is to register at the entrance, so that the guides know that you are around (so don’t forget a copy of your passport). The guides will also explain you the different treks, if you have any questions. For more information, you might also want to contact the website of the reservoir. Phone No. in Ecuador: 099–8945704.
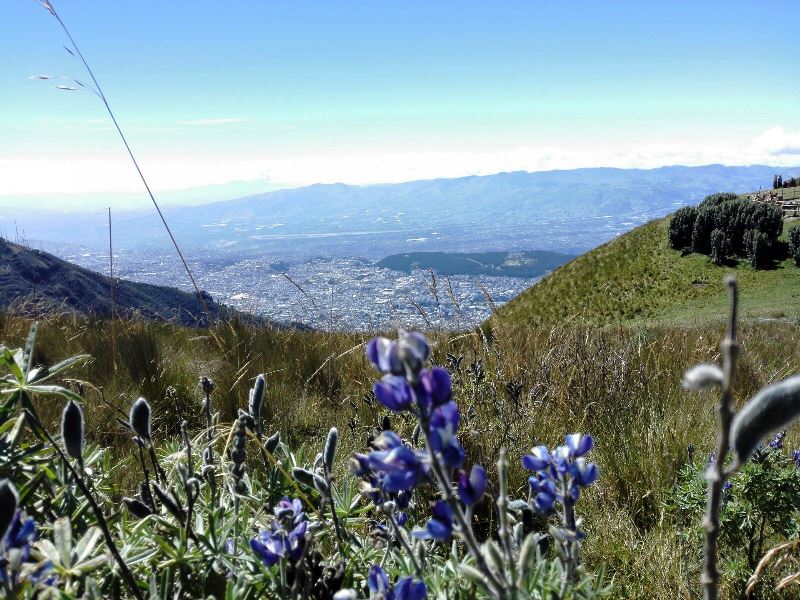
2. Get yourself up on Pichincha Mountain!
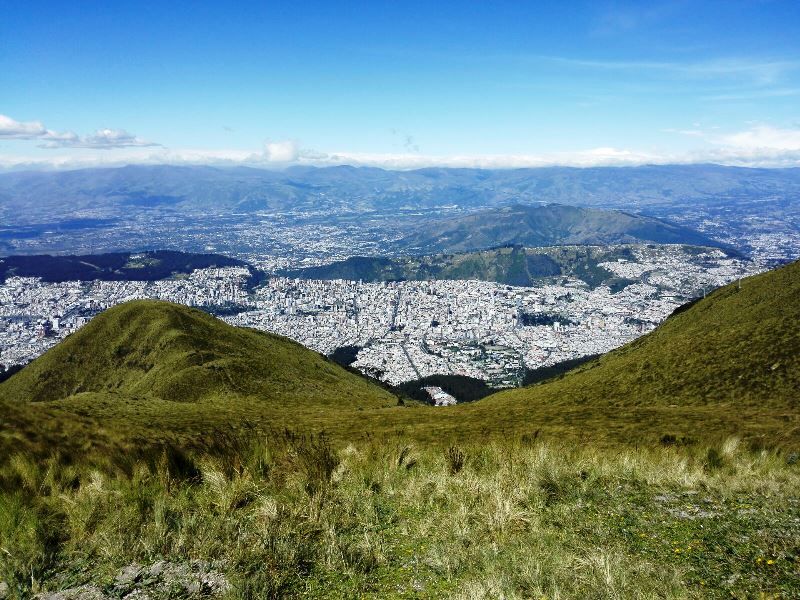
The Pichincha volcano is Quito’s closest volcano, which is why it is also called Quito’s local mountain. It has two peaks, Guagua Pichincha (4,800m) as well as Ruku Pichincha (4,700m), whereas only Ruku Pichincha is usually accessed from Quito’s side. Even though it is still active and has had its last eruption in 1999, you can hike up there without worrying about the next eruption :-).
How to get there
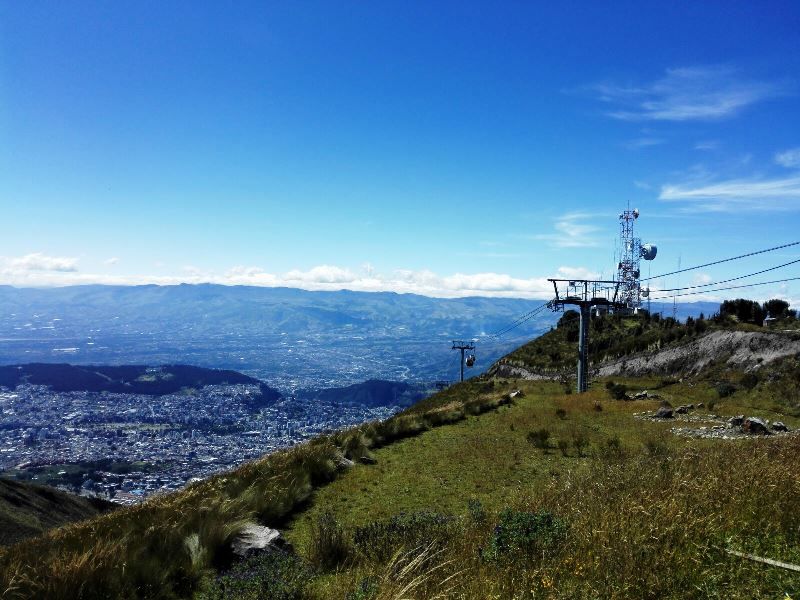
The easiest (and safest) way to get there is to take a cab to the entrance of the “Teleférico” since every cab driver will know where that is. From the historic center that should only cost you 4 Dollars. If you go by bus, you can take the free shuttle bus that runs all the way up from the avenue to the entrance of the cable car and prevents you from walking along the trafficked street. The cable car is open every day, from Monday to Friday 9 a.m. — 6 p.m. and at the weekends even till 8 p.m., and costs you 7.50 Dollars (roundtrip).
Getting started
Once you have made it to the top of the cable car, you can finally start your hike to the summit of the volcano. If you already need some snacks or a bathroom, you can also use the facilities next to the cable car exit before starting your tour. There, you will also find a nice chart with the various treks you can hike which means that you do not necessarily have to get up to the summit (it is getting steep up there!). On Pichincha, the treks are all well-signposted which means that you can simply follow the signs of your chosen route. The roundtrip to the summit will probably take you about 5 hours. If you are not sure about which tour you can take, I would recommend you asking the guides up there.
What to bring
On both hikes, you should bring adequate clothing and shoes for all weather conditions, sun protection, enough water and snacks, some cash for the transportation fees, as well as a copy of your passport. Take note, that you should already be acclimatized before going on the trips since the altitude may affect you!
Enjoy your hikes and please leave a comment/photo, if you like them!
Originally published on Ailola by Stella Genge on September 12, 2016.